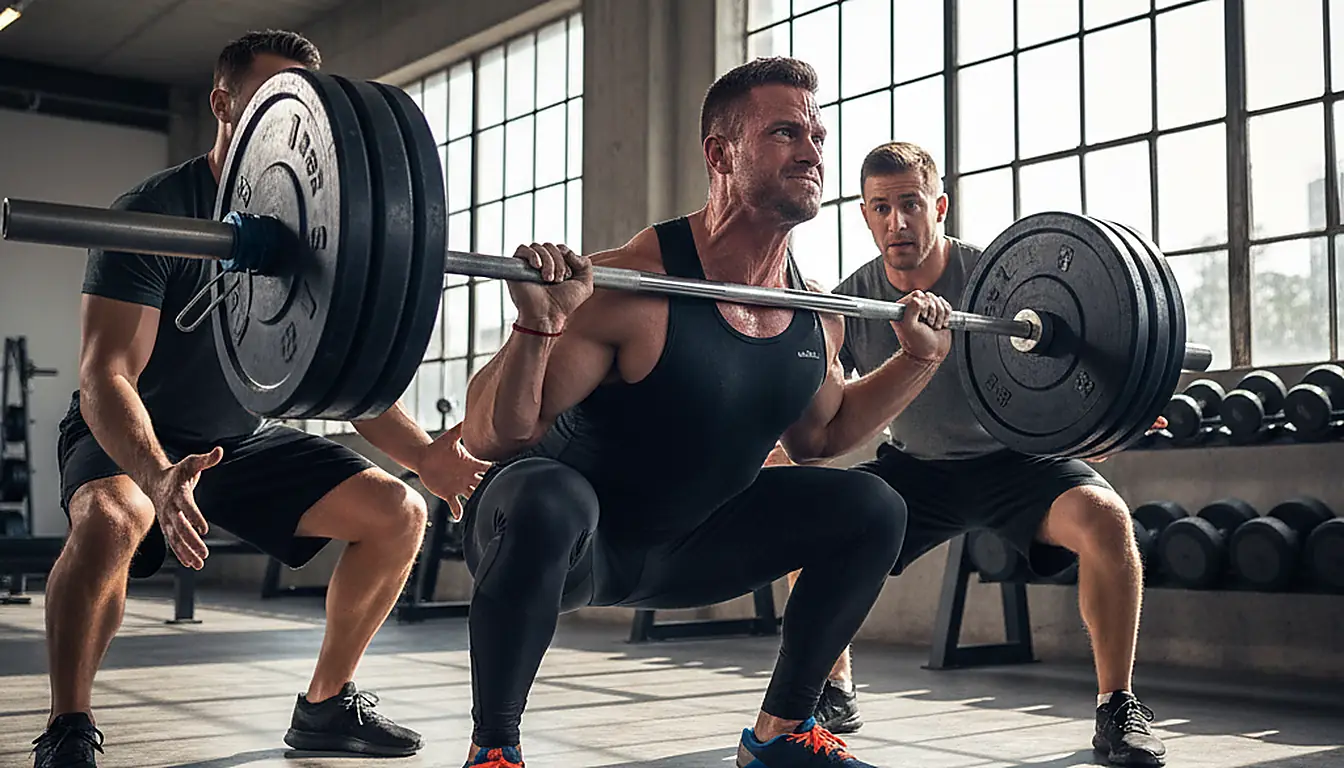
Hey Friends! Let’s Talk Squats!
Okay, so, squats. We all *know* we should be doing them. They’re like the cornerstone of, well, everything fitness-related, right? But how many of us are actually doing them *correctly*? I’ll be honest, for a long time, I was just winging it. And let me tell you, my knees were not happy. That’s why I decided to really master the squat, focusing on proper technique and form. Think of it this way: you wouldn’t build a house on a shaky foundation, would you? Same goes for your body! And that’s what I’m sharing with you today — a visual guide (yes, I’ll try to paint a picture with my words!) to nailing that perfect squat. We will cover proper squat form, what to avoid, and the benefits. Get ready to feel the burn…in a *good* way.
Table of Contents
- Hey Friends! Let’s Talk Squats!
- Why Bother Mastering the Squat?
- The Visual Guide: Nailing the Perfect Squat Form
- Step 1: The Setup – Stance and Posture
- Step 2: The Descent – Going Down
- Step 3: The Ascent – Coming Up
- Common Squat Mistakes (And How to Fix Them!)
- Squat Variations to Keep Things Interesting
- A Quick Squat Form Checklist
- My Squatting Journey: A Personal Anecdote
- The Takeaway: Consistency and Focus are Key
- Looking to Boost Your Fitness Routine?
Why Bother Mastering the Squat?
Before we dive in, let’s talk about why mastering proper squat form is even important. I mean, can’t you just, like, bend your knees and call it a day? Well, you *could*. But trust me, you’ll be doing yourself a disservice. There are some key benefits to consider:
- Injury Prevention: This is huge! Incorrect form is a one-way ticket to knee pain, back pain, and a whole host of other aches and pains. Think of it like driving a car with bad alignment – eventually, something’s gonna break.
- Maximize Muscle Engagement: When you’re doing squats right, you’re working your glutes, quads, hamstrings, and core. That’s a whole lotta muscle action! But with bad form, you might be missing out on some serious gains.
- Improve Overall Strength and Stability: Squats build a solid foundation for everything else you do, from lifting groceries to playing with your kids. Seriously, a strong lower body is a game-changer.
- Enhanced Athletic Performance: Whether you’re a runner, a cyclist, or just enjoy chasing after your dog in the park, squats can help you move more efficiently and powerfully.
So, are you convinced yet? Let’s get to it!
The Visual Guide: Nailing the Perfect Squat Form
Okay, picture this. You’re standing in front of a mirror (optional, but helpful!). Here’s what we’re aiming for, step-by-step, to achieve the best squat exercise:
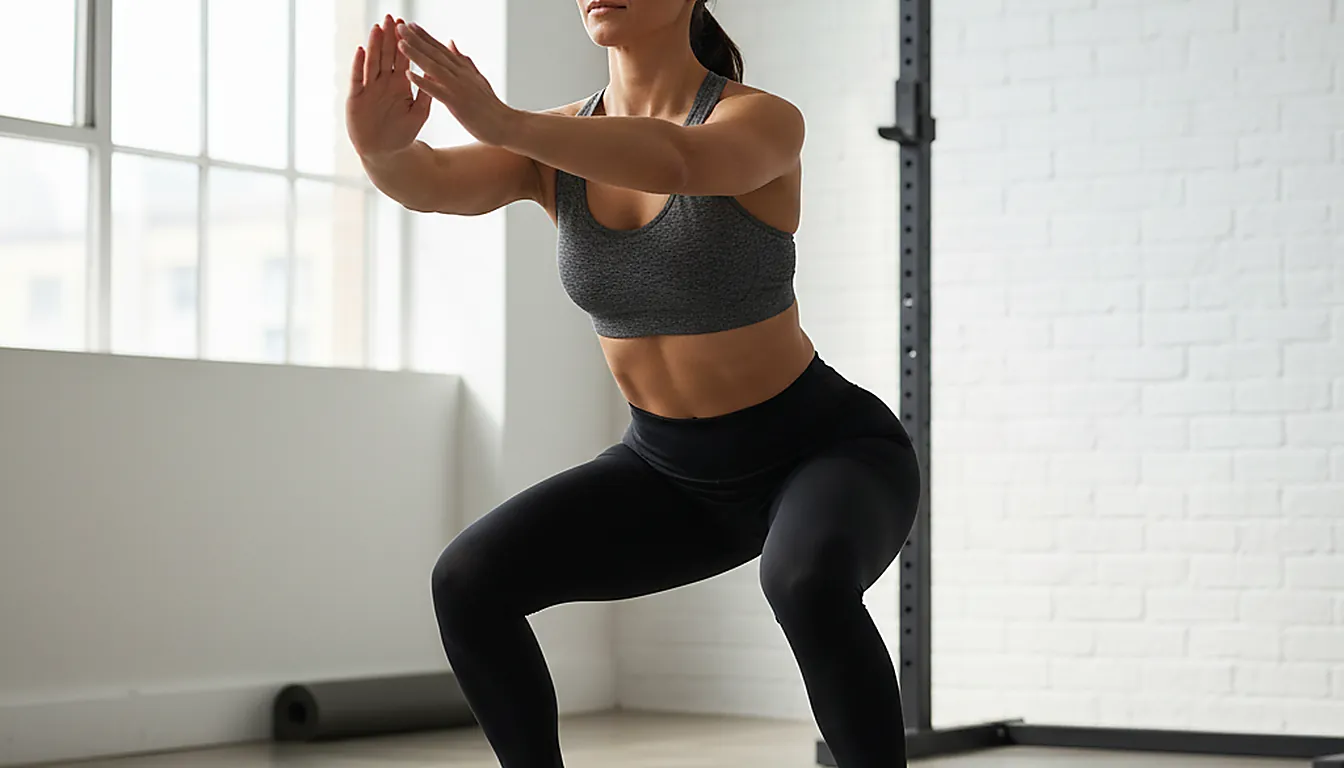
Step 1: The Setup – Stance and Posture
- Foot Placement: Stand with your feet shoulder-width apart, or slightly wider. Play around with the width to find what feels most comfortable and stable for you. A slight outward turn of your toes (around 5-15 degrees) is usually good.
- Posture: Stand tall with your chest up and your shoulders back. Think about squeezing your shoulder blades together slightly. Engage your core – imagine someone’s about to punch you in the stomach.
- Head Position: Keep your head in a neutral position, looking straight ahead. Don’t tuck your chin or crane your neck.
Step 2: The Descent – Going Down
- Initiate the Movement: Hinge at your hips as if you’re sitting back into a chair. This is key! Don’t just bend your knees forward.
- Knee Tracking: As you descend, make sure your knees track in line with your toes. They shouldn’t cave in (valgus collapse) or bow out excessively.
- Depth: Aim to squat until your hip crease is below your knees. This is often referred to as “parallel.” But hey, if you can’t quite get there yet, that’s okay! Just go as low as you comfortably can while maintaining good form. Partial squats are still beneficial!
- Maintain Core Engagement: Keep that core tight! This will help protect your lower back and maintain stability.
Step 3: The Ascent – Coming Up
- Drive Through Your Heels: Imagine pressing the floor away from you with your heels. This will help engage your glutes and hamstrings.
- Keep Your Chest Up: Don’t let your chest collapse forward as you come up.
- Maintain Knee Alignment: Keep those knees tracking in line with your toes.
- Full Extension: At the top of the movement, fully extend your hips and knees. Squeeze your glutes!
Common Squat Mistakes (And How to Fix Them!)
We all make mistakes, especially when we’re learning something new. Here are some common squat pitfalls I see all the time, along with tips on how to correct them. Think of these as your “squat troubleshooting” guide:
- Knees Caving In (Valgus Collapse):
- The Problem: Your knees are collapsing inward during the squat.
- The Fix: Focus on pushing your knees out as you descend and ascend. You can also try using a resistance band around your knees to provide external resistance. Strengthening your hip abductors (the muscles on the outside of your hips) can also help.
- Rounding Your Back:
- The Problem: Your lower back is rounding, especially at the bottom of the squat.
- The Fix: Focus on maintaining a neutral spine throughout the movement. Engage your core, keep your chest up, and hinge at your hips. If you’re having trouble maintaining a neutral spine, try squatting to a box or bench. This can help you control your depth and maintain proper form.
- Not Going Deep Enough:
- The Problem: You’re only doing partial squats.
- The Fix: Work on improving your mobility and flexibility. Stretching your hip flexors, hamstrings, and ankles can help you achieve a deeper squat. You can also try using a slightly wider stance or turning your toes out slightly. Remember, it’s okay if you can’t go all the way down right away. Just focus on gradually increasing your depth over time.
- Leaning Too Far Forward:
- The Problem: Your weight is shifting forward onto your toes.
- The Fix: Focus on sitting back into your heels. Imagine there is a chair behind you and you’re trying to sit on it.
Squat Variations to Keep Things Interesting
Once you’ve mastered the basic squat, there are tons of variations you can try to challenge yourself and target different muscle groups. Here are a few of my favorites:
- Goblet Squats: Holding a dumbbell or kettlebell close to your chest.
- Front Squats: Holding a barbell across the front of your shoulders.
- Back Squats: Holding a barbell across the back of your shoulders (high bar or low bar).
- Overhead Squats: Holding a barbell overhead with straight arms. (This one’s tough!)
- Jump Squats: Performing a regular squat and then jumping explosively at the top of the movement.
- Pistol Squats: A single-leg squat (advanced!).

This small shift made a visible difference.
A Quick Squat Form Checklist
Okay, let’s summarize everything we’ve covered with a handy-dandy checklist. Keep this in mind the next time you squat:
- Feet shoulder-width apart, toes slightly turned out.
- Chest up, shoulders back, core engaged.
- Hinge at your hips, sitting back into a chair.
- Knees tracking in line with toes.
- Squat until your hip crease is below your knees (or as low as you can comfortably go).
- Drive through your heels to stand back up.
- Keep your chest up and core engaged throughout the movement.
- Fully extend your hips and knees at the top.
My Squatting Journey: A Personal Anecdote
Okay, time for a little honesty. I wasn’t always a squatting queen. In fact, for years, I avoided them like the plague. Why? Because they hurt! My knees felt unstable, my back ached, and I just generally felt awkward. It wasn’t until I started working with a trainer who really focused on proper form that I began to understand what I was doing wrong. I was all knees, no hips. It felt like I was folding in half rather than squatting. With patient instruction, and lots of practice in front of a mirror, I started to feel it click. Now, squats are one of my favorite exercises. They make me feel strong, powerful, and grounded. It has been a long road to master the squat. And that’s why I wanted to share this guide with you. Because if *I* can do it, so can you! Don’t let initial discomfort or perceived difficulty discourage you. Stick with it, focus on your form, and you’ll be amazed at what you can achieve.
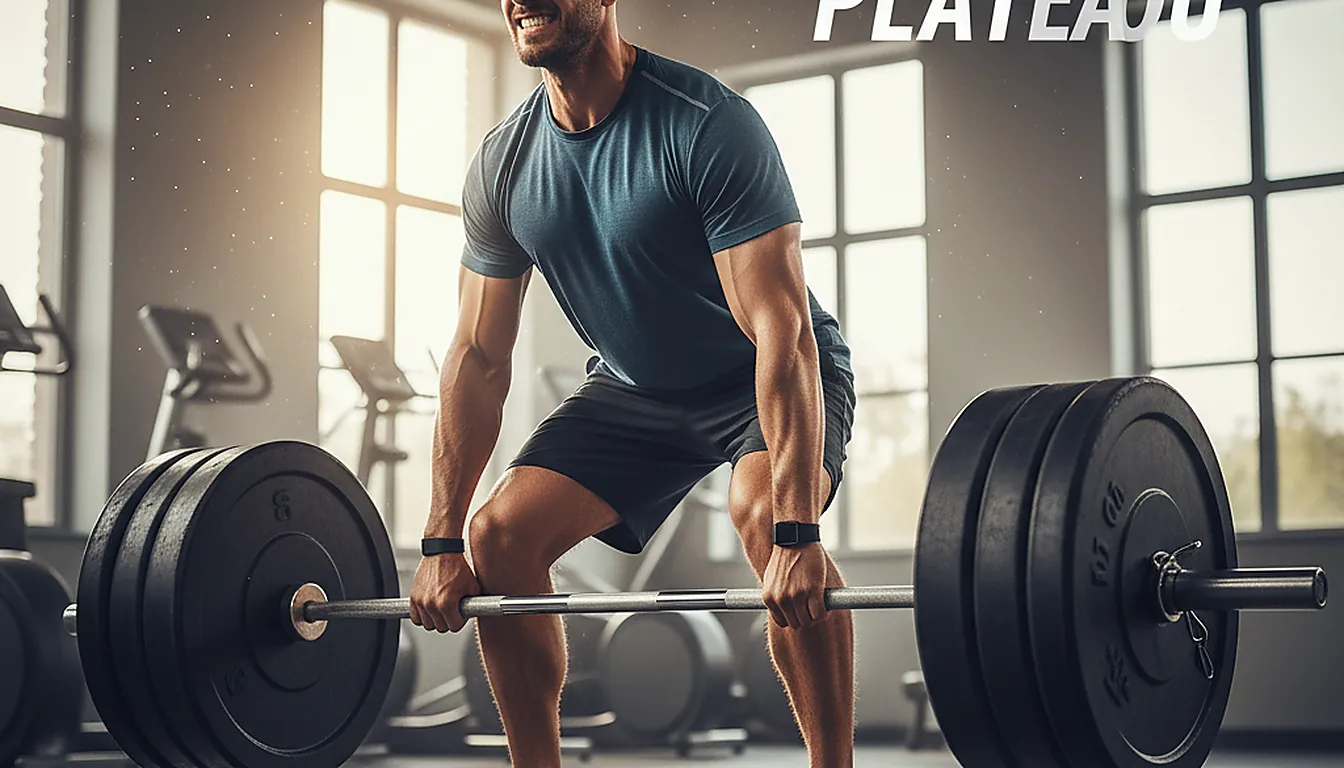
The Takeaway: Consistency and Focus are Key
Mastering the squat takes time, patience, and practice. Don’t get discouraged if you don’t nail it right away. Just keep showing up, focusing on your form, and gradually increasing the weight or difficulty as you get stronger. And remember, consistency is key. Even a few well-executed squats a few times a week can make a big difference.
So, what are you waiting for? Go get your squat on! And let me know how it goes in the comments below. I’m always here to cheer you on and answer any questions you might have. Happy squatting!
Looking to Boost Your Fitness Routine?
If you’re serious about taking your fitness journey to the next level, consider exploring some helpful supplements. While I’m not a medical professional, I’ve found certain CBD products from reputable brands like CBDfx and Charlotte’s Web can aid in recovery and relaxation. Check out what others have to say, or look to places like CBD.market to compare product offerings.
Frequently Asked Questions
What’s the proper foot placement for a squat?
Stand with your feet shoulder-width apart, or slightly wider. A slight outward turn of your toes (around 5-15 degrees) is usually good. Experiment to find what feels most stable for you.
How deep should I squat?
Aim to squat until your hip crease is below your knees (parallel). If you can’t get there yet, that’s okay! Go as low as you comfortably can while maintaining good form. Partial squats are still beneficial.
Why do my knees cave in when I squat?
Knees caving in (valgus collapse) can be due to weak hip abductors or poor form. Focus on pushing your knees out as you descend and ascend. Using a resistance band around your knees can also help.
How can I prevent rounding my back during squats?
Maintain a neutral spine throughout the movement. Engage your core, keep your chest up, and hinge at your hips. If you’re having trouble, try squatting to a box or bench.
What are some variations of the squat I can try?
Once you’ve mastered the basic squat, you can try goblet squats, front squats, back squats, overhead squats, jump squats, or even pistol squats. Each variation targets different muscle groups and adds a new challenge.
I am experiencing a lot of pain in my joints, what should I do?
If you have knee, back, or ankle pain, contact a doctor and physical therapist as soon as possible. While CBD might provide relief, a medical professional is better suited to help.
Key Takeaways
- Hey Friends! Let’s Talk Squats!
- Why Bother Mastering the Squat?
- The Visual Guide: Nailing the Perfect Squat Form
- Step 1: The Setup – Stance and Posture
- Step 2: The Descent – Going Down