The Best At-Home Facial Steamer Techniques for Deep Pore Cleansing
Okay, friends, let’s talk about something that’s been a game-changer for my skincare routine: facial steaming. And not just any facial steaming, but the kind that gives you that deep-pore cleansing we all crave. You know, the kind that makes you feel like you just stepped out of a fancy spa, but without the hefty price tag. I’ve been experimenting with different at-home facial steamer techniques for ages, and I’m finally ready to spill all my secrets (and a few cautionary tales!).
Table of Contents
- The Best At-Home Facial Steamer Techniques for Deep Pore Cleansing
- Choosing the Right Facial Steamer
- Product Recommendations
- My Foolproof At-Home Facial Steaming Techniques
- Step 1: Prep Your Skin
- Step 2: Set Up Your Steaming Station
- Step 3: Steam Away!
- Step 4: Extract (If You Dare!)
- Step 5: Hydrate and Soothe
- Common Pitfalls and How to Avoid Them
- Integrating Facial Steaming Into Your Routine
- The Final Verdict: Is Facial Steaming Worth It?
If you’re anything like me, you’ve probably dealt with clogged pores, blackheads, and just generally dull skin. And while there are a million products out there promising miracles, sometimes the simplest solutions are the most effective. That’s where facial steaming comes in. Seriously, it’s like magic for your face. But like any good magic trick, it needs to be done right. We will dive into the best facial steamers for your home use.
Think of it this way: your skin is like a tightly closed door, and steam is the key. It gently coaxes those pores open, allowing all the gunk and grime to escape. Plus, it’s incredibly relaxing. Seriously, who doesn’t love a mini spa session in their own bathroom?
So, buckle up, buttercup, because we’re about to get steamy! I’m going to walk you through everything you need to know to master at-home facial steaming techniques for truly deep pore cleansing. Get ready for glowing, happy skin!
Why Facial Steaming Works (And Why You Need It!)
Let’s get down to the nitty-gritty. Why is facial steaming so darn effective? Well, there are a few key reasons:
- Opens Pores: This is the big one! Steam softens the sebum and debris that clog your pores, making them easier to clean. Think of it like melting butter – much easier to deal with when it’s soft, right?
- Hydrates Skin: Steam infuses your skin with moisture, leaving it plump and hydrated. Hello, dewy glow!
- Promotes Circulation: The warmth of the steam increases blood flow to your face, which brings nutrients and oxygen to your skin cells. This can help with everything from acne to aging.
- Relaxes You: Let’s be real, the whole process is just plain relaxing. The warmth, the gentle humidity – it’s a great way to de-stress after a long day. Think of it as a mini-vacation for your face!
I remember one time, I was so stressed out about a work deadline that my skin was breaking out like crazy. I decided to try a longer steaming session, and it was amazing. Not only did it help clear up my skin, but it also helped me calm down and focus. Seriously, it’s a win-win!
Choosing the Right Facial Steamer
Now, before you run off and start boiling a pot of water (please don’t!), let’s talk about facial steamers. While you *can* use a bowl of hot water and a towel, a dedicated facial steamer is safer, more effective, and honestly, just more luxurious. There are a ton of options out there, so here are a few things to consider:
- Type of Steamer: There are a few different types of facial steamers, including tabletop steamers, handheld steamers, and even steamers that come with attachments for aromatherapy. I personally prefer tabletop steamers because they’re stable and easy to use.
- Features: Look for features like adjustable steam levels, automatic shut-off, and a timer. These will make your steaming sessions safer and more enjoyable.
- Price: Facial steamers range in price from around $20 to over $100. You don’t necessarily need to break the bank to get a good one, but it’s worth investing in a quality steamer that will last.
Product Recommendations
Here are a few facial steamers that I’ve personally tried and loved:
Panasonic Facial Steamer
Pros: Produces ultra-fine steam, easy to use, compact design.
Cons: Can be a bit pricey.
Usage Notes: I love using this steamer before applying my serums. It really helps them penetrate deeper into my skin.
Who it’s for: Anyone looking for a high-quality, easy-to-use facial steamer.
Verdict: Worth the investment if you’re serious about your skincare routine.
Pure Daily Care Nano Ionic Facial Steamer
Pros: Affordable, comes with a blackhead removal kit, adjustable steam levels.
Cons: Can be a bit bulky.
Usage Notes: The blackhead removal kit is a nice bonus, but be gentle when using it! Don’t over-extract.
Who it’s for: A great option for beginners or those on a budget.
Verdict: A solid all-around facial steamer with some extra goodies.
My Foolproof At-Home Facial Steaming Techniques
Alright, now for the fun part! Here’s my step-by-step guide to getting the most out of your at-home facial steaming sessions:
Step 1: Prep Your Skin
Before you even think about turning on your steamer, it’s crucial to prep your skin. This means:
- Cleansing: Use a gentle cleanser to remove any makeup, dirt, or oil from your face. You want a clean canvas for the steam to work its magic.
- Exfoliating (Optional): If you’re feeling extra ambitious, you can exfoliate your skin before steaming. This will help remove dead skin cells and allow the steam to penetrate even deeper. But be careful not to over-exfoliate! Once a week is plenty.
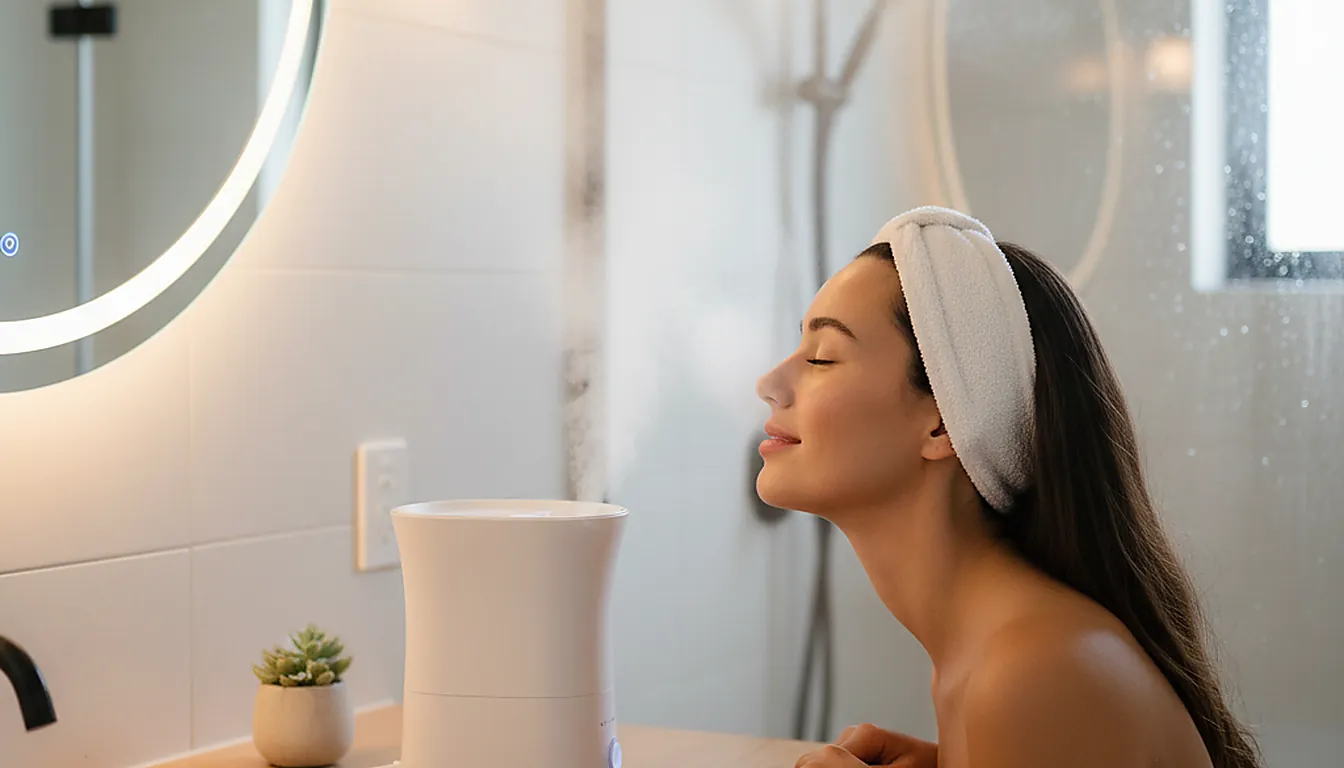
Step 2: Set Up Your Steaming Station
Find a comfortable spot where you can relax for 10-15 minutes. Fill your facial steamer with distilled water according to the manufacturer’s instructions. If your steamer has an aromatherapy compartment, you can add a few drops of your favorite essential oil (lavender, eucalyptus, and tea tree are all great options). Place the steamer on a stable surface and plug it in.

Here’s where it feels real for me.
Step 3: Steam Away!
Position your face about 6-10 inches away from the steamer. Close your eyes and relax. Let the steam envelop your face for 5-10 minutes. If you start to feel uncomfortable, take a break. You can always do another session later.
Step 4: Extract (If You Dare!)
This is optional, but if you have stubborn blackheads, you can try extracting them after steaming. Use a clean comedone extractor (the little metal tool with a loop on the end) and gently press around the blackhead until it pops out. Be careful not to press too hard, or you could damage your skin. And remember, if it doesn’t come out easily, leave it alone! You don’t want to cause any inflammation or scarring.
Step 5: Hydrate and Soothe
After steaming and extracting (if you chose to do so), it’s important to hydrate and soothe your skin. Apply a hydrating serum or moisturizer to lock in the moisture from the steam. You can also use a soothing face mask to calm any redness or irritation.
Common Pitfalls and How to Avoid Them
Okay, so facial steaming is pretty straightforward, but there are a few common mistakes that people make. Here’s how to avoid them:
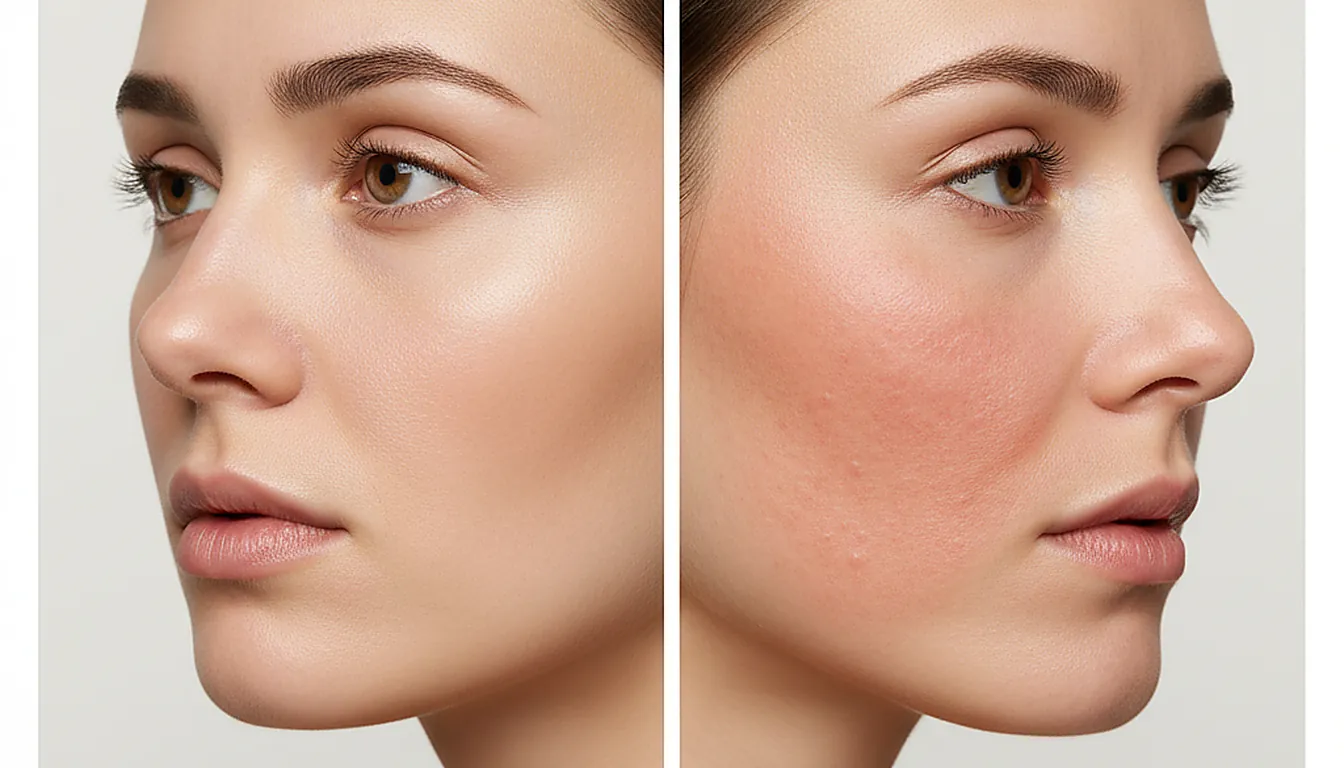
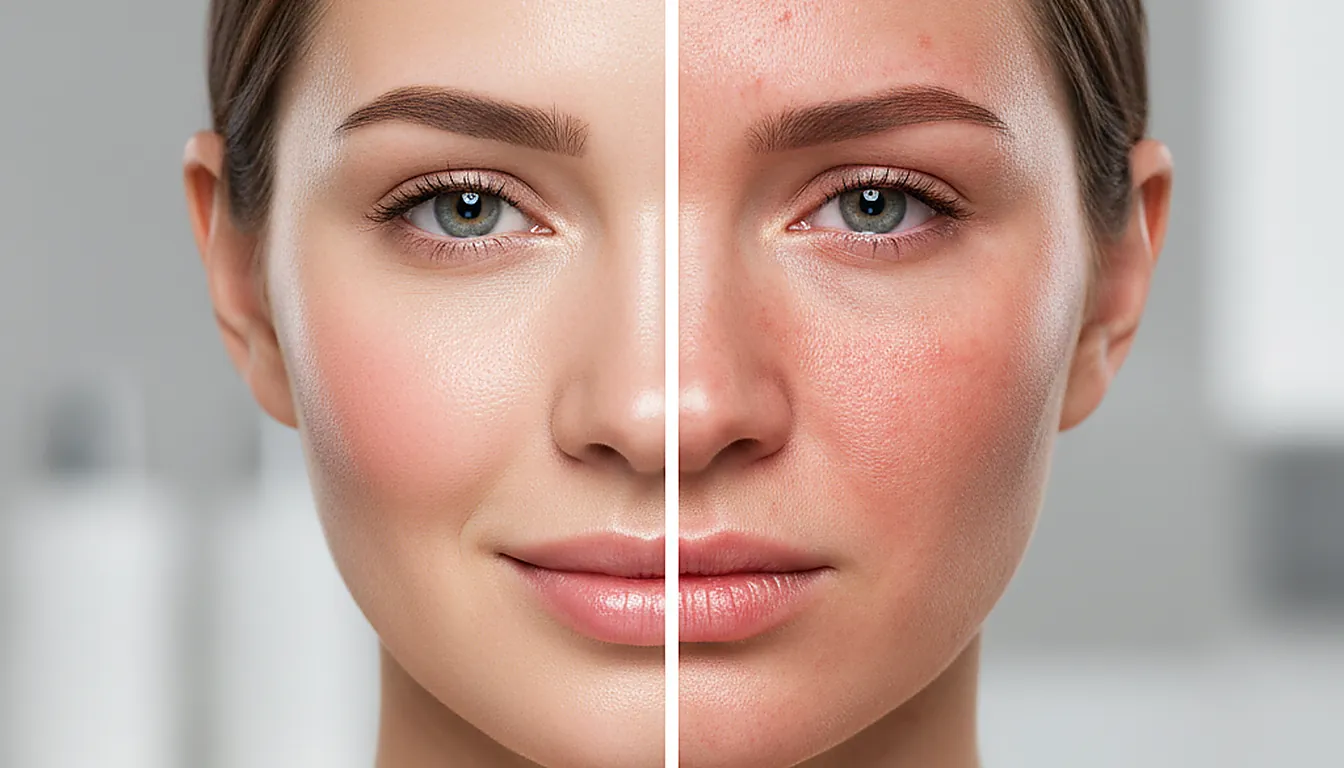
- Steaming for Too Long: Over-steaming can dry out your skin and cause irritation. Stick to 5-10 minutes max.
- Using Tap Water: Tap water can contain minerals and chemicals that can irritate your skin. Always use distilled water in your facial steamer.
- Extracting Too Aggressively: As I mentioned earlier, be gentle when extracting blackheads. Don’t force anything!
- Not Hydrating Afterward: Steaming can temporarily dry out your skin, so it’s crucial to hydrate afterward with a good moisturizer.
I definitely learned the hard way about over-steaming. One time, I steamed my face for like 20 minutes because I thought it would make my pores *extra* clean. My face was so red and irritated afterward! Lesson learned: moderation is key.
Integrating Facial Steaming Into Your Routine
How often should you steam your face? Well, that depends on your skin type. If you have oily skin, you can steam 2-3 times a week. If you have dry or sensitive skin, stick to once a week. Listen to your skin and adjust accordingly.
I personally love to steam my face on Sunday evenings as part of my weekly self-care ritual. It’s the perfect way to unwind and get my skin ready for the week ahead.
The Final Verdict: Is Facial Steaming Worth It?
Absolutely! In my opinion, at-home facial steaming is one of the best things you can do for your skin. It’s affordable, effective, and incredibly relaxing. Plus, it’s a great way to pamper yourself without leaving the house.
Just remember to follow my tips and techniques, and you’ll be well on your way to glowing, healthy skin. So, go ahead and give it a try. Your face (and your wallet) will thank you!
So, what are you waiting for? It’s time to incorporate the best facial steamers into your daily routine.
Key Takeaways
- The Best At-Home Facial Steamer Techniques for Deep Pore Cleansing
- Choosing the Right Facial Steamer
- Product Recommendations
- My Foolproof At-Home Facial Steaming Techniques
- Step 1: Prep Your Skin